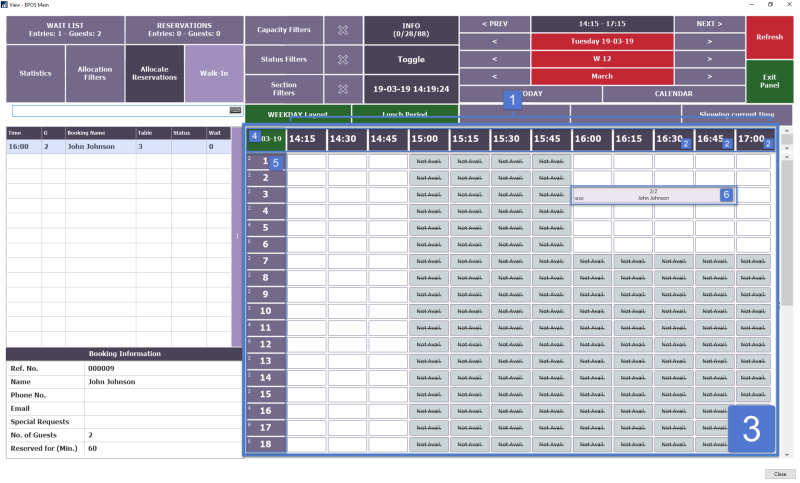
To customize the Timeline view of the Allocation panel, you need to edit the POS menus that are used to build up the timeline button matrix.
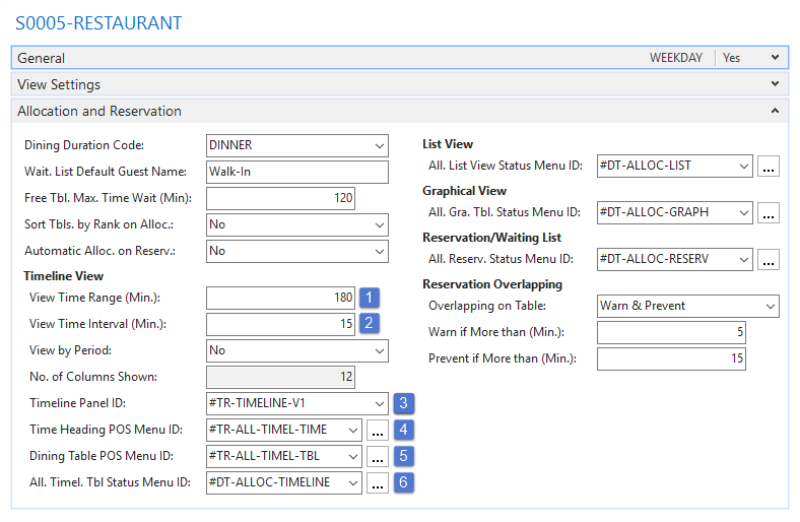
The matrix is built with temporary menus but uses the menus specified in the Dining Area Card as a template for how the menus should look and what information should be displayed. Three menus control the look of the Timeline panel:
The Dining Area Card
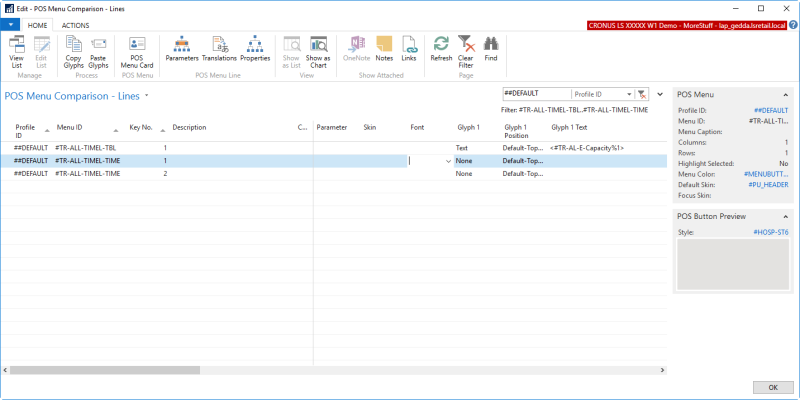
Comparing and editing Time Heading and Dining Table heading menus
- Go to the Dining Areas page.
- Select the dining area in question.
- Click the Alloc. Timeline Menus action in the Compare Menus section of the Home action menu. The Time Heading and Dining Table POS menus appear in the POS Menu Comparison - Header page.
- Select these two menus (hold the Ctrl key to multi-select).
- Click the Select Compare Menu Lines for Selected Menus action. In this page you can compare the skin and font settings for the menus and the glyph texts (you can filter on more fields to make the comparison easier) and edit at the same time.
For more information on changing the All. Timel. Tbl Status menu, see How to: Identify Allocation Statuses Visually.